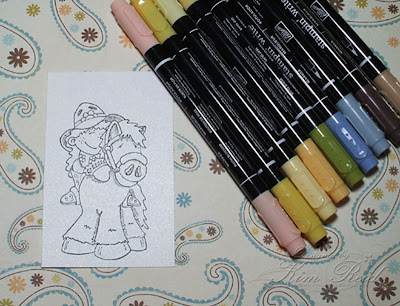
So first off I chose this cutie pie High Hopes stamp called Cowgirl Candice that I haven't had a chance to play with yet. There's nothing sadder than a neglected stamp!! So I stamped it on Shimmery White cardstock which I find is the best paper to use with this technique.
I chose this yummy Tres Jolie patterned paper by My Mind's Eye. The colours and texture of this paper really lends itself to the western theme, I think. Then I chose the SU markers that most closely matched the paper.
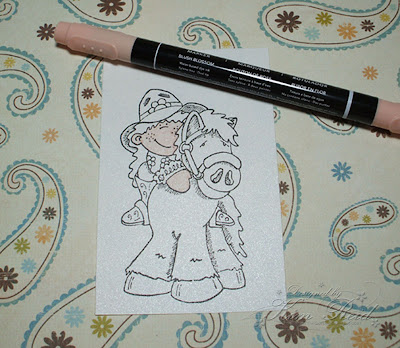
I generally start with the lightest colours first, so here I began with the skin tones. One tip I can share with you is that I try to only take my marker off the paper when I have to. In other words I try to go back and forth on the image without picking my marker up. Of course there will be little spots that you miss, but I go back and dot those in with the very tip of my marker.
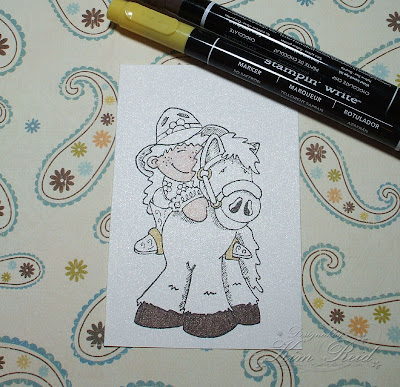
I also try to cover as much space with each stroke as possible, so I hold my marker more at a side angle than straight up and down. And I try not to overlap the strokes too much as that darkens the lines between the strokes because you are layering your colouring at the edges. Does that make sense??
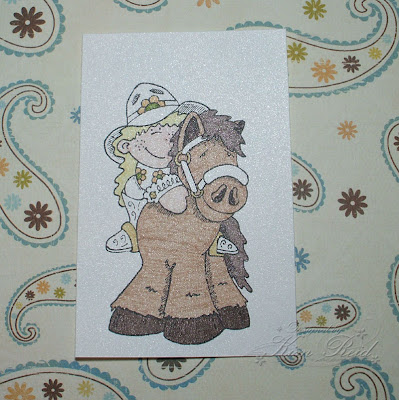
You can sort of see that I didn't do such a hot job towards the middle of the horsie. I overlapped a little too much there and you can see the lines. This is the downfall of water-based markers. I have some alcohol-based markers (Copic Markers) on my Christmas wish list for this exact reason.....they don't leave lines and they are blendable....but they want your first born child in exchange for them!!! We've grown kind of fond of Emileigh over the last 15 years, so I figure I'll just ask everyone I know for them for Christmas and they can each buy me a couple!! Hahahaha!!
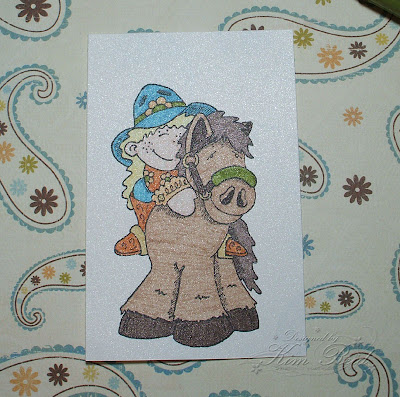
The blue in the patterned paper is rather an odd shade of blue. Sometimes if you are limited in colours, you can layer two different colours to create another. Here I did the first layer of the girl's jeans and hat in Tempting Turquoise. Then I went back over it with Bordering Blue to dull down the brightness a bit and it seems to match much better!
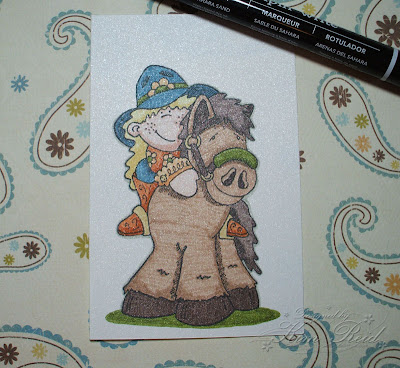
Now I always do one layer of each colour first and I try to be careful so I don't smudge it......TRY being the operative word here. Then, after a couple of minutes, it's dry and then I go back in with the SAME colours of markers and do a second layer ONLY in the areas that I want to be shaded. I'm not too skilled at the whole shading thing yet, but I try to picture the sun shining from one particular direction and darken the areas that would be shaded. I also drew in the green oval for them to stand on.
And that's all there really is to my big "Marker Secrets" tutorial!! Heehee!! I hope you picked up a tip or two that will help you out with your colouring!
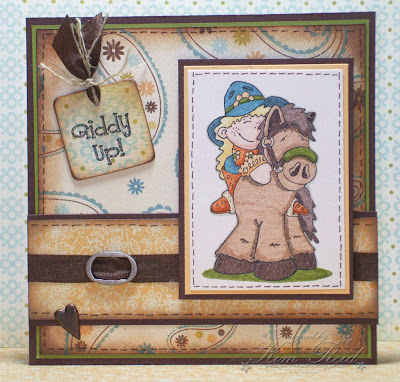
Here is my finished card. I added some sparkle on the metal parts of the harness and the button on her sleeve with my Sakura Stardust gel pen, then 'stitched' around the edge of all pieces with my Chocolate Chip marker. The card is a 6 inch square with Old Olive matting underneath the paisley patterned paper. I sponged each of the dp's using Chocolate Chip ink and a cosmetic sponge. I added a Hodgepodge buckle along with the wrinkled brown ribbon and also an antique brass heart brad. The tag is a chipboard square with another of the dp's layered on top, distressed and sponged and then tied with the ribbon and some linen thread. I stamped the Giddy Up sentiment and then went over it with my SS gel pen to make it sparkly too.
Well, the deadline for the Kard Kontest was last night and NOW I have the daunting task of choosing winners!! Let me tell you, this will NOT be easy!!! There are some amazing creations!!!


17 comments:
Wow, what an awesome tutorial! Thanks so much for sharing!
Great Tutorial and Gorgeous card! I've never used markers but I bet it looks wonderful on shimmery cardstock...must try this..TFS
Thank you so much for the tutorial. I know you worked very hard on that, just because I begged you and I appreciate it. Your card is adorable!!
Now... how do you do your pictures? Are they digital pictures or scans? My pictures are HORRIBLE, my scans are OK. I think I need to upgrade my camera so that it has a close-up option and I know I need way better lighting. I'm hoping for an OTT light soon. Check out my blog, you'll see what I mean.
Great tutorial! It's always nice to see others' techniques at colouring! Beautiful finished product as well!
Excellent tutorial! I think a lot of us only have the SU! markers and it's nice to see a tutorial with those instead of the Copics because as you said, they are pretty spendy!
Thanks Kimmie!
Thank you, thank you, thank you! That was an awesome tutorial...and I DID learn something...about not going over the same part twice and using the same color for shadowing. Very cute!
Thank you so very much for the tutorial - and the time you spent putting it all together. You explained yourself very good and I am excited to get home from work and try out your technique - where do you get the shimmery cardstock from - is that from SU? It gives it a beautiful effect. So appreciate your tutorial - THANK YOU!!!!
Thanks for having such work for us !
Kimmie, the card is just wonderful, you do an amazing job. Also you did an awesome job with your tutorial. I really had wondered how you were going to do it, but you did a great job of explaining!! Of course you're amazing, you're my daughter!! But then, I'm not biased at all. Mom
Thanks so much for the tutorial. Very helpful! The card is so cute and so is that stamp. I just did a cowboy scrapbook for a 1st birthday and that would have been so darn cute in it. :)
Thank you for the tutorial w/ pics!! That is the cutest stamp and you've made a great card!
What a fun tutorial. Thanks for taking the time to do that. I love the card you made with that image--so cute!
BEAUTIFUL card! Great instructions!
I think you did a great job!!! TFS!!!
Great tutorial! I love the way you colored the horsie! Actually the darker line in front looks like a real crease in his hair, I love this image! GREAT CARD! Deb
WOW!! I just discovered your blog, and I am SO IMPRESSED!! You are EXTREMELY TALENTED, and your tutorials are GREAT!! I was wondering what the shimmery white cardstock is that you refer to in this tutorial? Do you have a brand name, so I can try to find it here in the states?
Thanks again for sharing your talents!!
That was a great tutorial! Well done your blog getting better and better love coming here.
hugs ginger(lovestodream)
Post a Comment