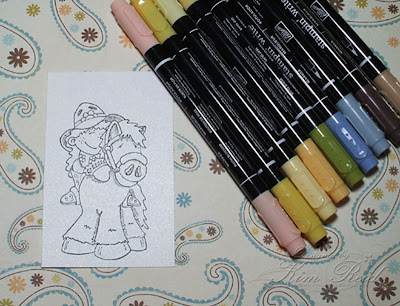
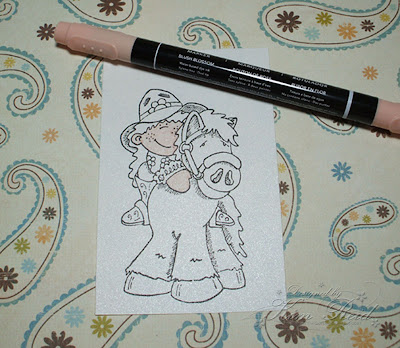
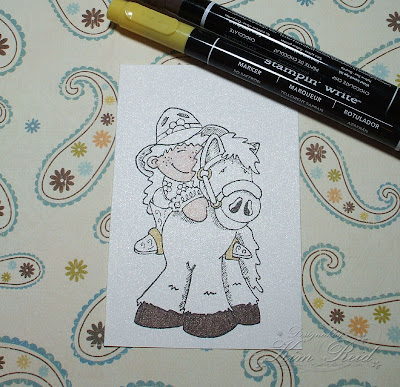
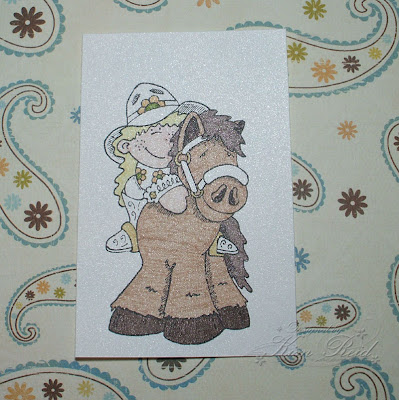
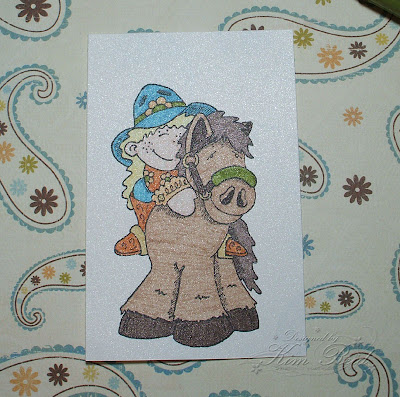
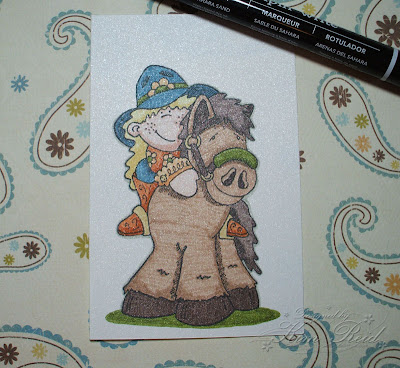
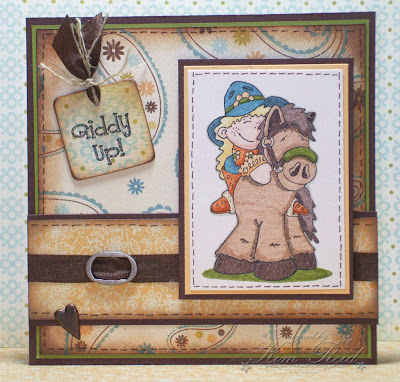
I am totally excited to share my Shimmerz Tutorial with you today because a) I LOOOOOVE Shimmerz and b) I’m debuting one of the new MFT February release stamp sets!! Heeheeee! With the MFT Lady’s permission of course!! (Actually she's away at CHA in Anaheim this week and from what I hear, she's lost her voice, so what could she really say, anyway, right??? *insert evil laugh here*)
Now anyone who knows me, knows that I love anything sparkly and shimmery and these lovely little paints definitely fit that bill! Shimmerz are non-toxic, water based paints that are ridiculously shimmery!!! And today I’m going to show you just a few of the ways you can use them!!!
The stamp set I’m giving you a peek at is another amazing creation from Stephanie Fizer and it’s called Tea for Two! I just love it! BUT you won’t be able to order it until next Wednesday, February 4th after the Release Party!! And after you see the pictures of these A-dorable images, I’m going to have to tell Kim to have plenty on hand and available on release night!!
As you may or may not know the Shimmerz come in over 35 different iridescent colours and My Favorite Things has almost all of them in stock!! They come in little pots and all you need is a paintbrush or empty aquapainter to use them! You can use Shimmerz over top of your stamped and coloured images just like paint. You can add a little shimmer to a dress, some flowers or some fur....like I’ve done!!
I stamped the images using Memento Tuxedo Black ink on Wausau bright white cardstock and coloured them with my Copic markers.

I painted each of the colours of Shimmerz that I currently have on a spare piece of white cardstock so that you can see what they look like with no colour underneath them.

I decided to use the Gold Glimmer on the mouse and bunny fur. This pic is of the mouse image after I’ve painted it. Keep in mind it’s difficult to catch the glimmer and shimmer on camera but I think you get the idea!

Next I decided to add some sparkle to my Prima flowers, so here is a before shot,

.....an after shot.....

.... and a closeup shot. The paint goes right on and dries so quickly and leaves them super shimmery!

I wanted to try Shimmerz on my ribbon too! So I tied a little bow using grosgrain ribbon (don't know why the pic is sideways...can't get it to go straight....anyone????)...

... and painted the Shimmerz directly on the top of the ribbon. Again, it didn’t take long to dry and it was ready to go on my card! Keep in mind that you don’t need to saturate your ribbon or flowers or paper. You only need a little to add some extra glimmer to your project.

I figured why not go all in?? So I decided to try painting my bland, flat looking brads with some Shimmerz too!! Here’s the before .....

.... and after! It takes a little longer to dry because it’s a smooth, non-porous finish.

And here are the finished cards, all pretty and sparkly!! Don’t forget, this stamp set is not available until the release on February 4th, but the Shimmerz are over at the store now!


I hope you enjoyed my attempt at a tutorial!! And have a very SPARKLY day!!!


